This game was a 2 on 1 game. I took 30K Iron Warriors featuring Perturabo and 4 of his Iron Circle and my opponents had multiple Imperial Knights and other nastys which you will see below in the pictures.
This was another custom scenario I came up with just for this game. I wanted it to harken back to table quarters and city fight games of old.
Here are the scenario rules:
Story:
After pushing through the Jungle the day before Perturabo and his Iron Warriors have reached the city. To ensure a Traitor victory the Imperial held city must fall!
The Mechanicum and Grey Knights await the Iron Warriors within New Jack City, they are dug in and ready to defend what is theirs. Perturabo has hatched a plan, however to capture the city center and claim it for his own!
The Mission Overview:
By capturing quadrants and buildings the Iron Warriors can take the Imperial held city. This won't be easy, however, because the Imperials were there first and they already control the majority of the city.
Victory Points:
Victory points will be awarded per side for accomplishing the following goals (whichever side scores the most victory points by the end of the game wins):
Quadrants: If at the end of the game your side controls your beginning quadrant your side gets 3 victory points. If you control a quadrant that was unoccupied at the beginning of the game at the end of the game then your side gets 4 victory points. If you control the opponents beginning quadrant at the end of the game your side get 5 victory points.
Buildings: At the end of each player turn if that player controls a building their side gets 1 victory point. These points remain even if the opposing side captures the building later in the game.
Slay the Warlord: The player that kills an enemy Warlord gets 1 victory point.
The Price of Failure: The player that kills an enemy Lord of War gets 2 victory points. (This means that if a Primarch is killed that player probably gets 3 victory points for that Primarch because it is both a Lord Of War and a Warlord potentially.)
Deployment Map:
Search And Destroy (opposing Quandrants): See page 114 in "The Horus Heresy: Legiones Astartes Age of Darkness Army List" for the map.
Scoring Units and taking Buildings/Quadrants:
Use the Warhammer 40k definition for scoring units. To control a Building/Quadrant there must not be any opposing units in that Building or Quadrant at the time when it is scored (ie. at end of player turn for buildings and at the end of the game for quadrants.)
First Turn and deployment:
Each side rolls a d6, whoever rolls highest picks their deployment zone. The opposing side gets the opposite zone.
Then roll off again. The Imperials get +2 on their roll (This represents the Imperials having home-field advantage). Whoever rolls highest may choose to go first or second. If they choose to go first then they also deploy their entire army first then the opposing side deploys their entire army.
Seize the Initiative: If the Iron Warriors are rolling to Seize the Inititave then they add +1 to their roll. (This represents the Iron Warriors being the attackers.)
Mission Length:
The game lasts for 6 turns.
-------------------------------------------------------
An without further adoo, here are some pics.

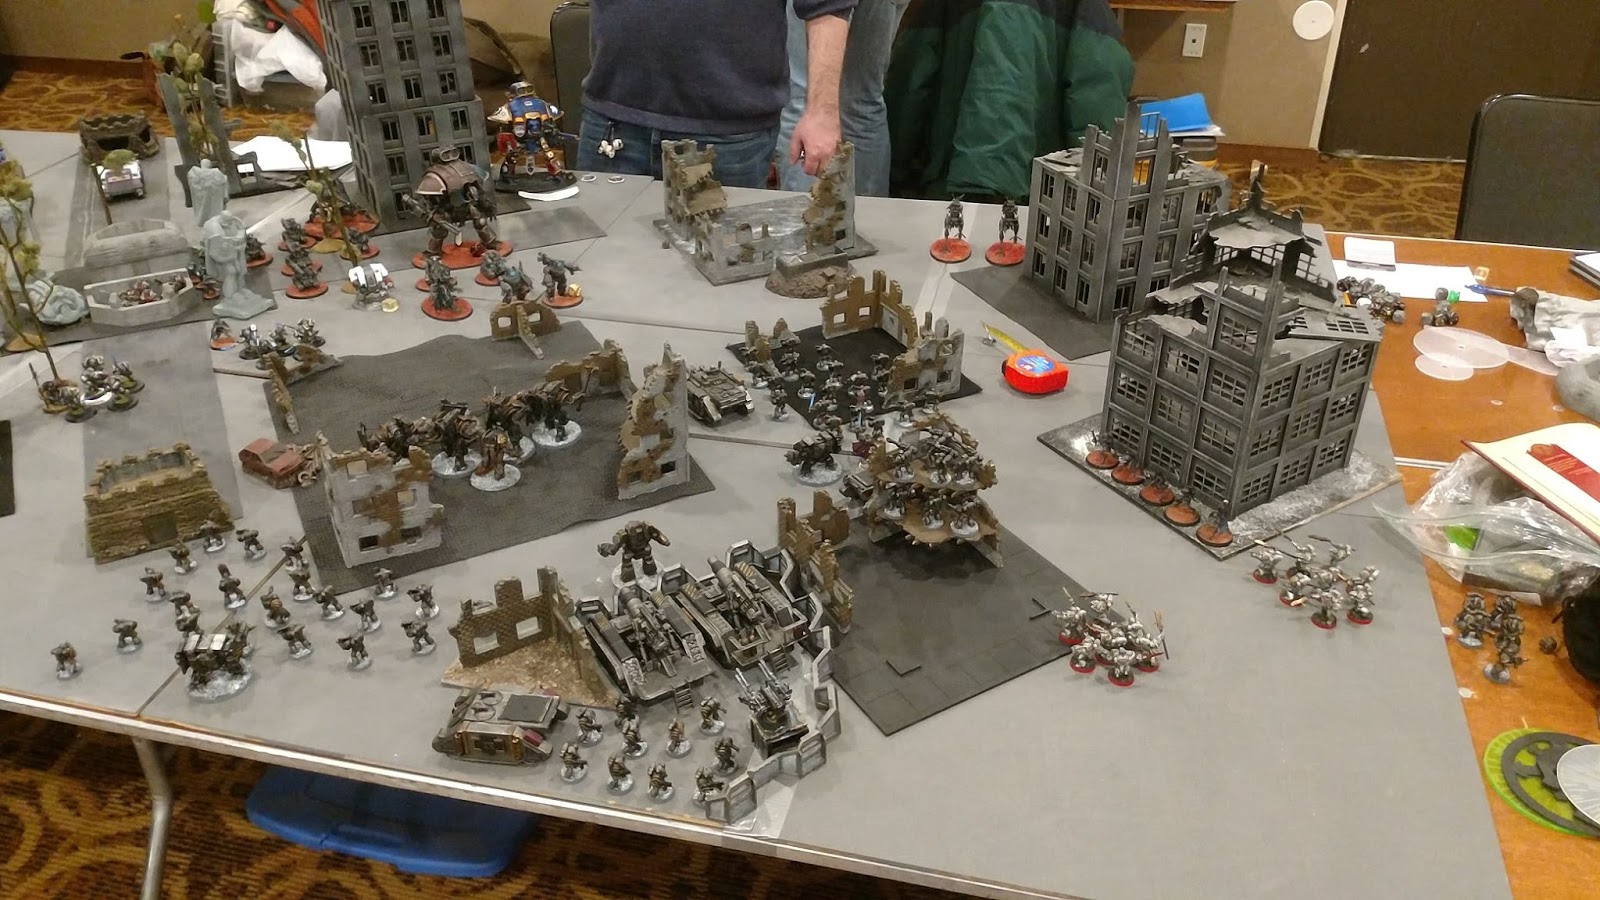
Initial Deployment

The Iron Warriors go first and begin their attack with coordinated fire.

The Imperials line up bracing for the onslaught.

The Iron Circle and Perturabo attempt to advance through the ruins.

After the first turn's firing, the Imperial's line has holes in it.
The Imperials begin deep striking in Grey Knight and Terminator squads.

The Iron Warriors respond with heavy fire wiping out a squad that dropped behind their lines. Perturabo and the Iron Circle continue their advance.

Warsmith Martok leads a squad of Tactical Marines to engage the Ad Mech walkers.

A tactical support squad loaded with flamers responds to the Grey Knights who dropped in, unleashing a hail of flame!

The Iron Circle get closer to engaging the enemy.

The Warsmith and large tactical squad eye up the enemy Ad Mech,

The Iron Circle charge into the Kastelan Robots and do minimal damage.

Another Grey Knight squad deepstrikes and attempts to destroy the Iron Havocs.

Martok and the tactical squad engages the Iron Striders.

The Imperial Knights close in on the combat.

On the Iron Warriors' left flank some terminators deep strike in.

The Imperial Knight charges Perturabo. He is unable to avoid its stomp....

The Iron Warriors charge into the Grey Knight squad.

The other tactical squad charges into the terminators.

The Iron Warriors in the building mop up the power-armoured Grey Knights.

The larger squad that charged the terminators lost the combat and ran away,
hoping to regroup next turn.

With the Iron Circle and Perturabo out of the fight, the Imperial Knights are let loose.

With the terminators advancing the Contemptor knows what must be done.

As Ad Mech reinforcements arrive to shoot the tactical squad off the table, the Contemptor valiantly charges into the Grey Knight Terminators.

With most of the Iron Warriors' main battle line in ruins its only a matter of time.

The Tactical Support squad moves behind a building awaiting the end.
The Imperials win the day. Seeing the end was near I capitulated. The gambit with the Iron Circle and Perturabo would have worked if those Imperial Knights hadn't been there. Getting Stomped to death is not a fitting end to Perturabo. He will be back and in the future I will be more wary of Imperial Knights.
Anyways it was a fun game against two great opponents.
Next time will be the third and final game of my Big Game weekend.
Until then...
Love it. Well documented, great looking game.
ReplyDelete